ops_msg_...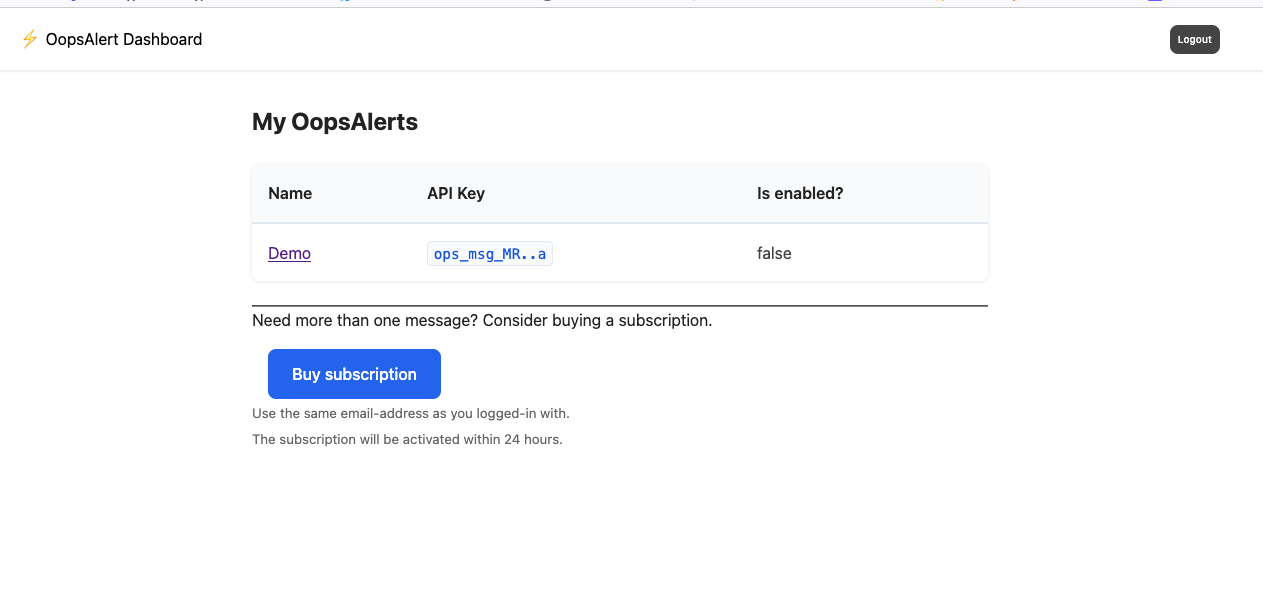
curl https://dashboard.oopsalert.com/api/v1/messages/ops_msg_M....a
You will get an output like this:
{"enabled":false}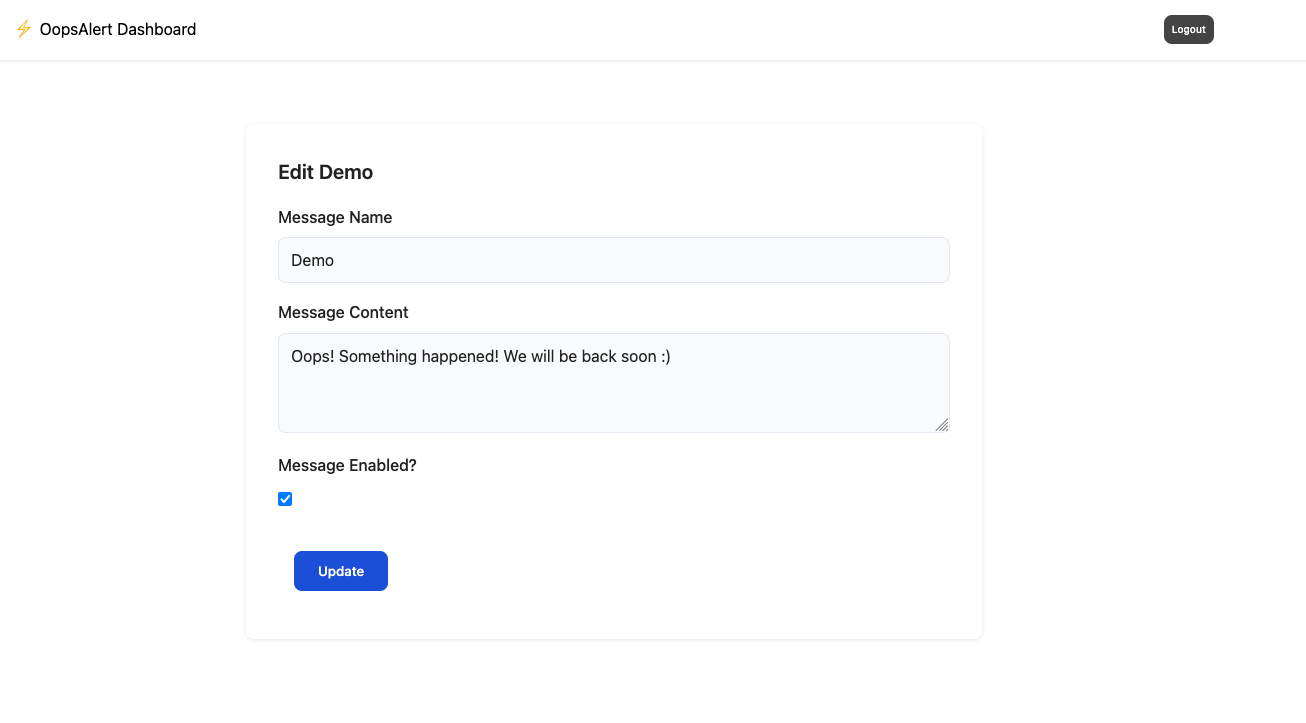
{"name":"Demo","contents":"Oops! Something bad happened! We are working on fixing it!","enabled":true}<!DOCTYPE html>
<html lang="en">
<head>
<meta charset="UTF-8" />
<meta name="viewport" content="width=device-width, initial-scale=1.0" />
<title>OopsAlert Demo</title>
</head>
<body>
<div class="content">
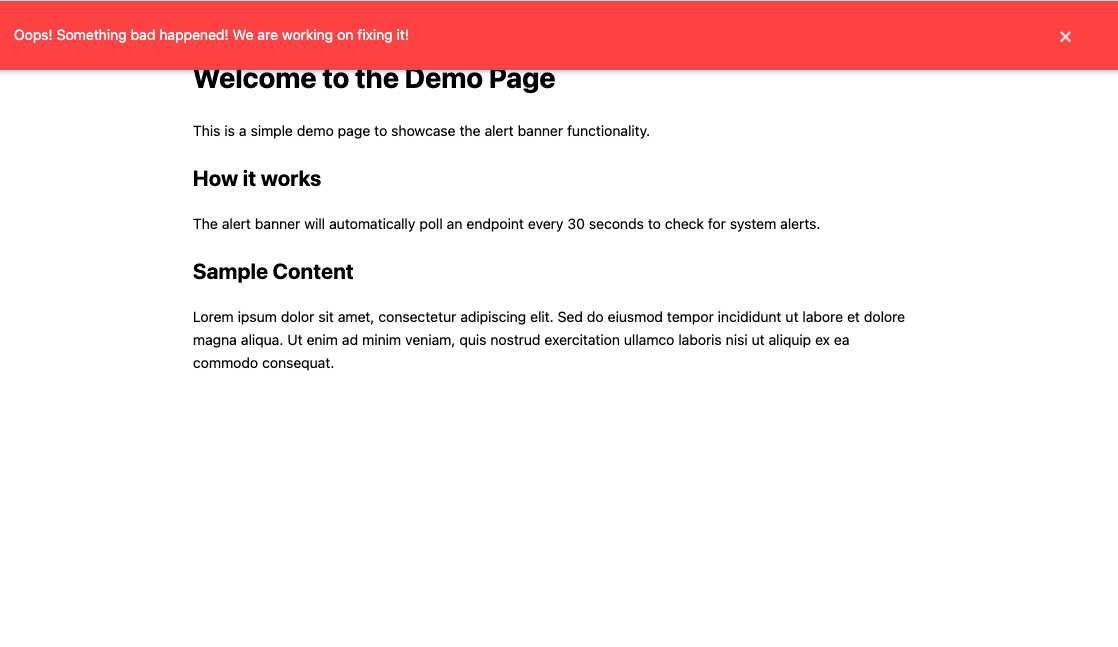
<h1>Welcome to the Demo Page</h1>
<p>This is a simple demo page to showcase OopsAlerts functionality.</p>
<h2>How it works</h2>
<p>The OopsAlert will automatically poll an endpoint every 30 seconds to check if the message is enabled.</p>
<h2>Sample Content</h2>
<p>
Lorem ipsum dolor sit amet, consectetur adipiscing elit. Sed do eiusmod tempor incididunt ut labore et dolore
magna aliqua. Ut enim ad minim veniam, quis nostrud exercitation ullamco laboris nisi ut aliquip ex ea commodo
consequat.
</p>
</div>
</body>
</html> <script src="oopsalert.js"></script>
<script>
document.addEventListener("DOMContentLoaded", () => {
OopsAlert.init({
apiKey: "<ADD YOUR API KEY>",
checkInterval: 30000
});
});
</script>Replace "<ADD YOUR API KEY>" with the api key found on https://dashboard.oopsalert.com
Enable the message in the dashboard and open the example page in a browser.